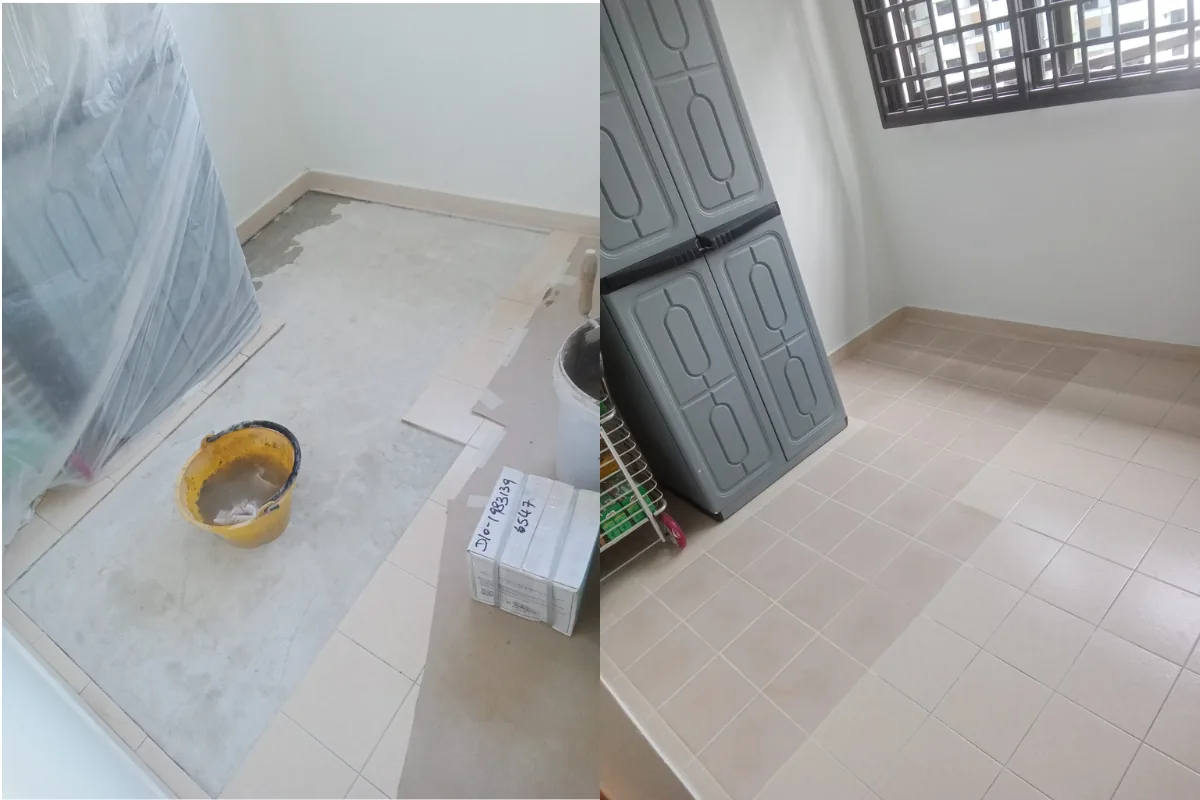
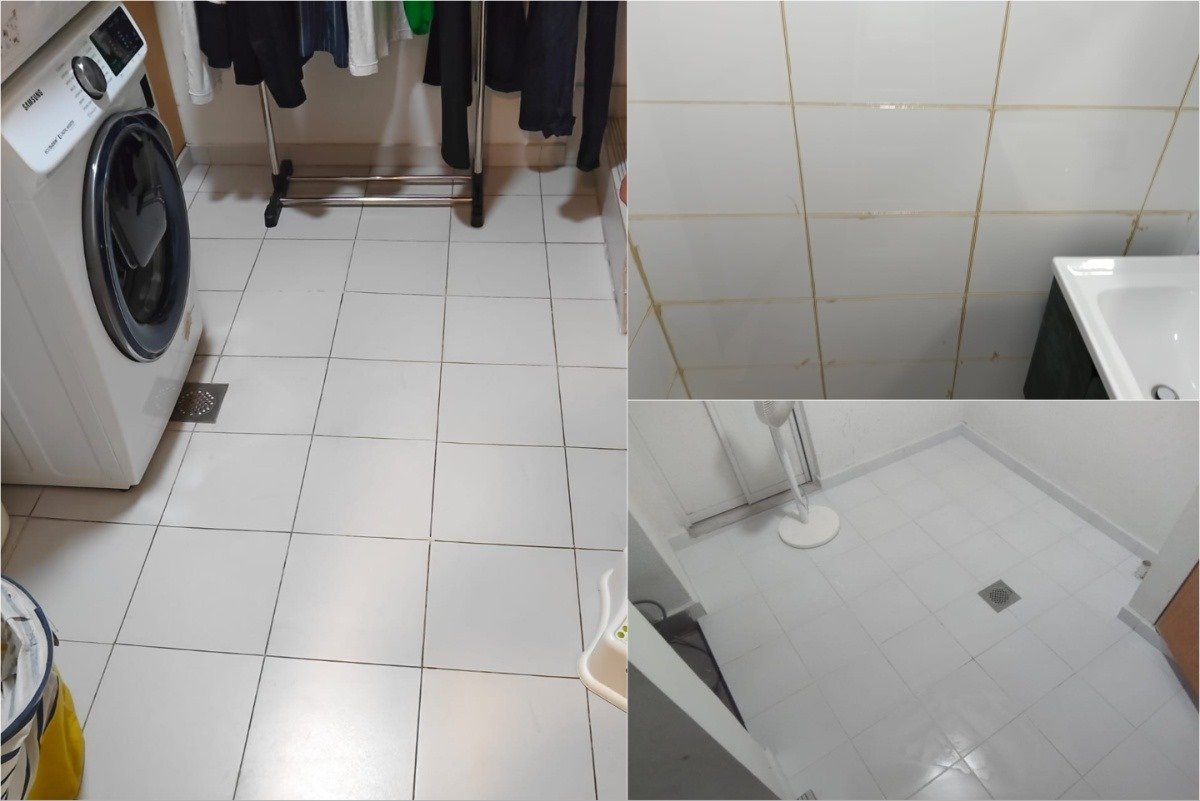
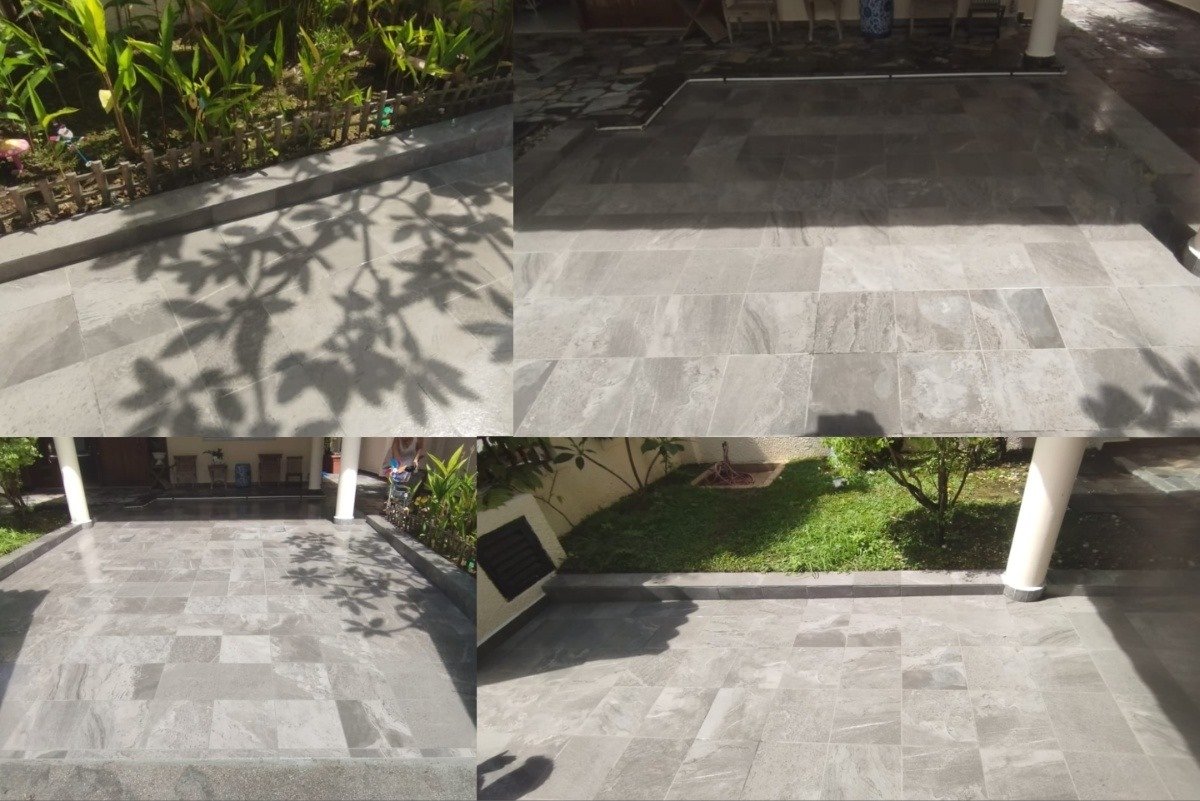
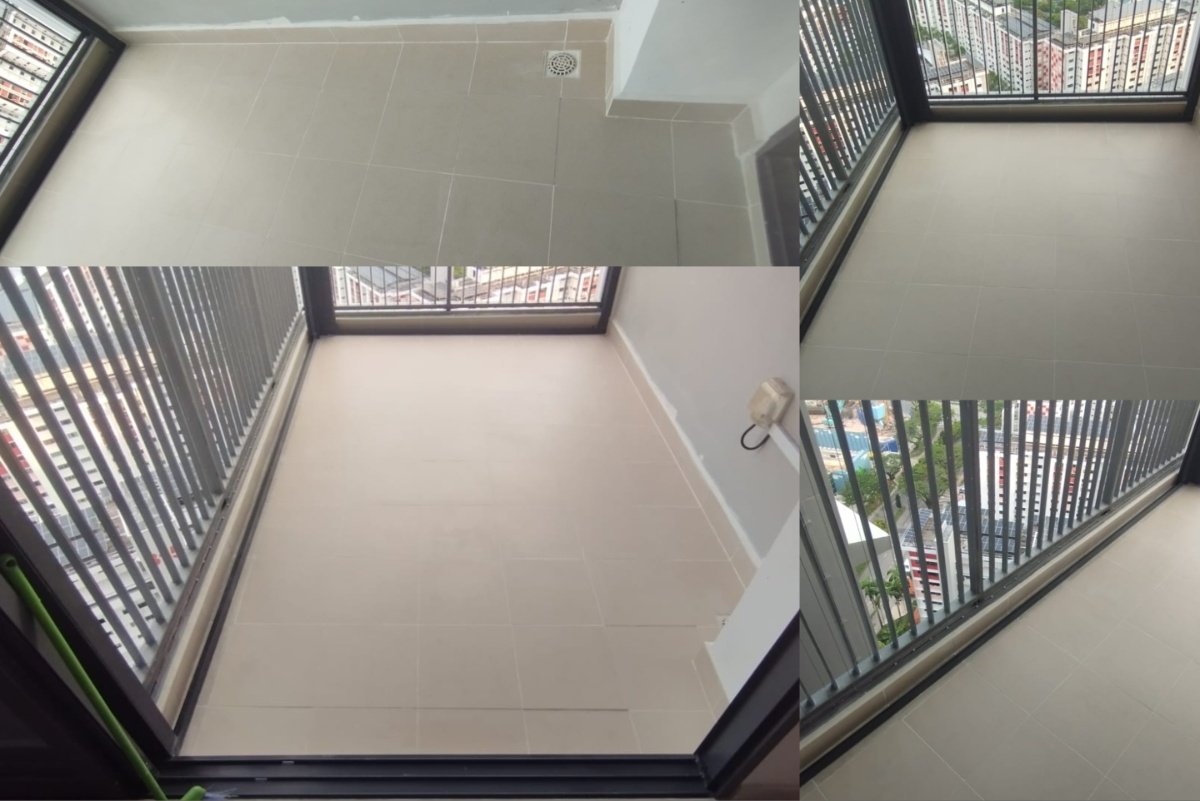
Our client contacted us after noticing several damaged and loose tiles in the service yard area. Following a detailed on-site inspection by our experienced project manager and technical team, we assessed the condition of the existing flooring and recommended replacing the affected tiles to restore the area's safety, functionality, and appearance. After obtaining the client's approval, we proceeded with the planned tile replacement works.
The work began by carefully removing the damaged 200 × 200 mm tiles while minimizing disturbance to the surrounding flooring. All debris, old adhesive, and waste materials were properly collected and disposed of, leaving the work area clean and ready for the next stage.
Once the damaged tiles had been removed, the existing floor surface was thoroughly cleaned to eliminate dust, loose particles, and old adhesive residue. Any uneven areas were rectified to provide a solid and level base for the new tile installation.
We then prepared Weber E-MIX Tile Fix 303 according to the manufacturer's specifications using clean water and a professional electric mixer to achieve a smooth, lump-free consistency. The tile adhesive was evenly applied using a notched trowel to ensure full coverage and excellent bonding performance.
The new 200 × 200 mm tiles were carefully installed in their designated positions while maintaining consistent alignment and uniform joint spacing with the existing flooring. Tile spacers and leveling tools were used to achieve accurate positioning and a professional finish. A rubber mallet was used to gently adjust each tile, ensuring proper contact with the adhesive and eliminating air gaps beneath the tiles.
After installation, all tile joints were thoroughly cleaned and prepared for grouting. Premium coloured grout was applied evenly into the joints using a rubber grout float, ensuring complete filling of all gaps. Excess grout was removed, and the tile surfaces were cleaned with damp sponges and soft cloths to achieve a neat and uniform appearance.
Once the installation was completed, a comprehensive quality inspection was carried out. Each newly installed tile was checked for proper alignment, levelness, and secure bonding. A hammer test was also performed to ensure there were no hollow-sounding tiles, confirming that each tile was firmly bonded to the substrate.
Throughout the project, our team utilized professional-grade materials, including Weber E-MIX Tile Fix 303, together with high-quality grouting materials and specialized installation tools such as an electric mixer, notched trowel, tile spacers, leveling equipment, rubber mallet, grout float, and cleaning tools to ensure precision, durability, and long-lasting performance.
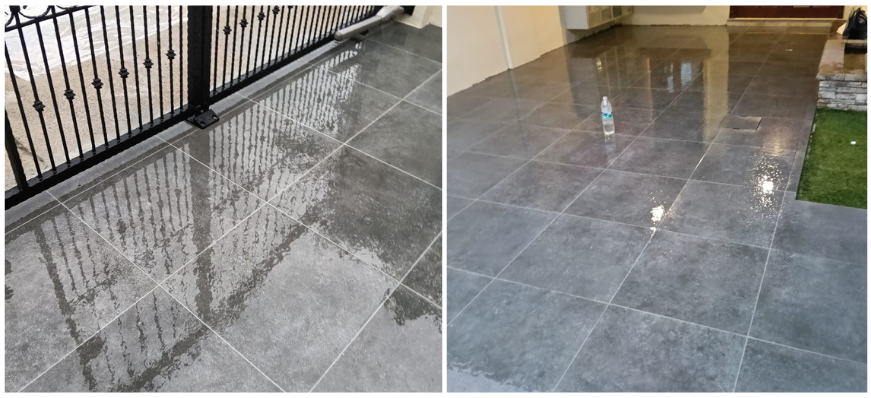
The project was successfully completed, providing the client with a durable, well-aligned, and aesthetically pleasing service yard floor. The newly installed 200 × 200 mm tiles restored the functionality and appearance of the area while ensuring a strong, reliable finish suitable for daily use.










_compressed.png)
.png)
 (1).png)
 (1).png)
-min.png)
 (1).png)
 (1).png)
.png)
.png)
.webp)
.webp)
.webp)
.webp)
.webp)
.webp)
.webp)

.webp)
.webp)
.webp)
.webp)


