

.webp)
- Active
- July 11, 2026
- Blk432A Nort...
Marble Installation works
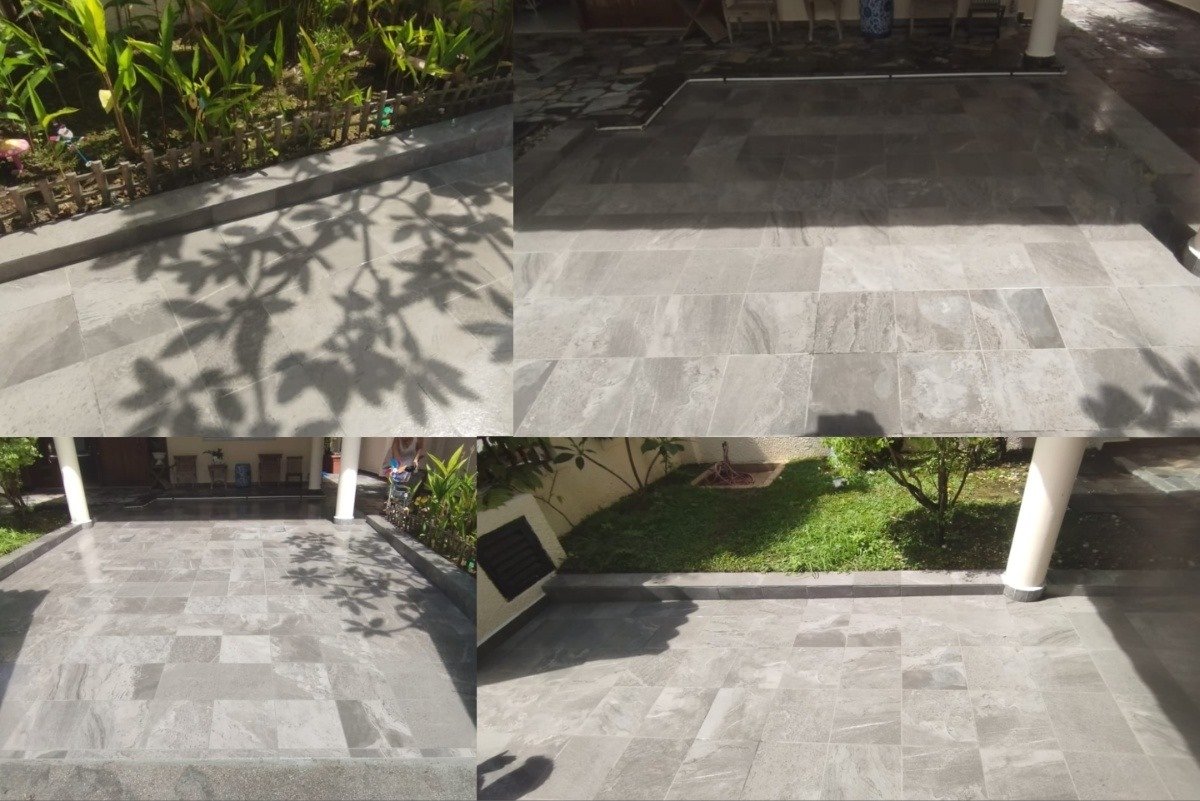
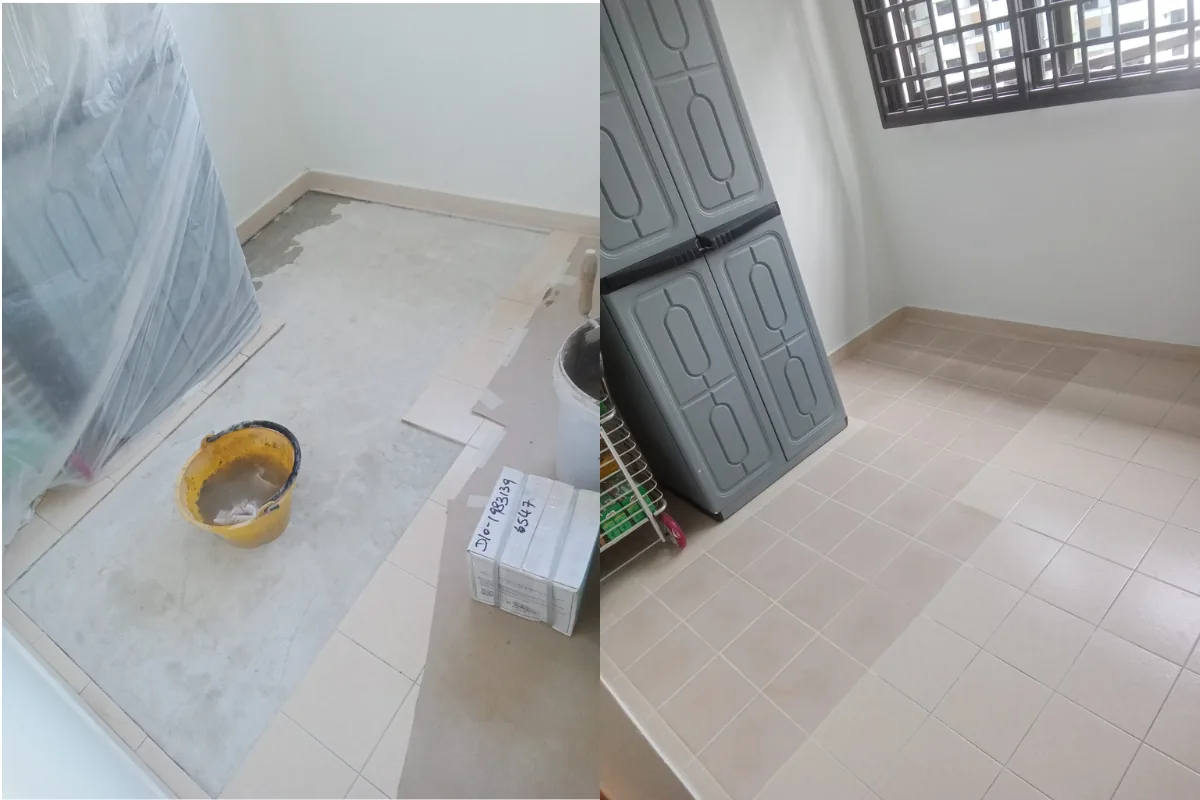
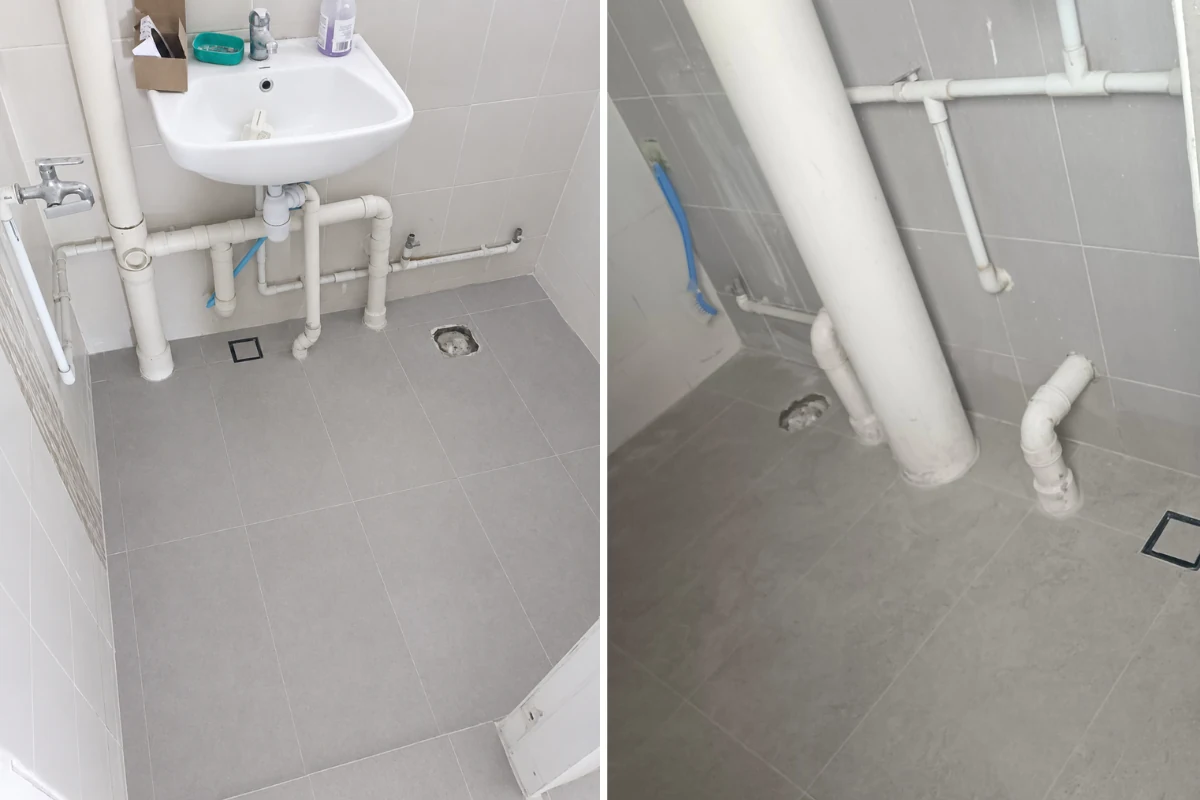
Our client contacted us to install premium marble flooring in the living room, dining room, and bedrooms as part of their home renovation project. Following a detailed site inspection by our experienced project manager and installation team, we assessed the floor condition, verified the existing floor levels, and discussed the client's preferred marble design, layout, and finishing requirements. After confirming all measurements and obtaining the necessary approvals, we scheduled the installation and arranged for the marble slabs to be delivered near the block. Our team then carefully transported the marble materials to the 21st floor using proper handling equipment to prevent damage.
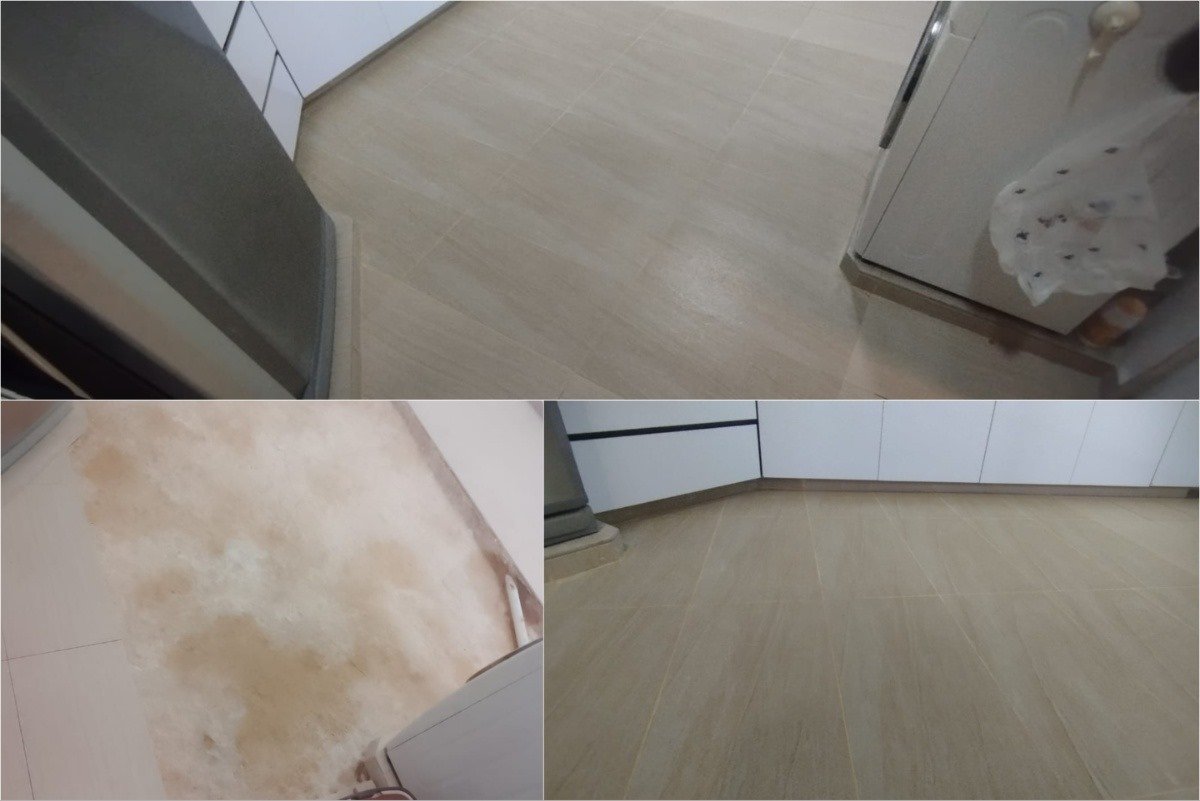
Before commencing the marble installation, the existing floor surface was thoroughly cleaned and inspected to ensure it was free from dust, debris, oil, and loose particles. We then applied W1 Cement Strengthener to improve the bonding strength between the substrate and the screed, ensuring a durable and long-lasting foundation. Where required, the floor was leveled using Davco Floor Screed ECO at a thickness of approximately 30–40mm to eliminate uneven surfaces and achieve the correct floor level. Laser Markers and leveling tools were used throughout the process to ensure maximum accuracy. The screed was then allowed to cure for three days, providing sufficient strength before the marble installation commenced.
Once the screed had fully cured, our skilled installers began laying the marble flooring using White E-Mix Marble Fix, a premium marble adhesive specially designed for natural stone installation. The adhesive was mixed to the correct consistency using an Electric Mixer with Paddle before being evenly spread with a Notched Trowel to achieve the recommended thickness. Each marble piece was carefully positioned according to the approved layout, while Laser Markers, Tile Spacers, and Rubber Mallets were used to ensure perfect alignment, consistent joint spacing, and a level finish throughout the installation. Every marble slab was checked individually to maintain uniformity and minimize lippage.
Following the floor installation, our team proceeded with the installation of approximately 20–25 metres of marble skirting, ensuring the skirting aligned perfectly with the flooring while providing a clean and elegant finishing detail. The skirting pieces were securely fixed using suitable marble adhesive, with all joints carefully aligned to create a seamless appearance throughout the living room, dining room, and bedroom areas.
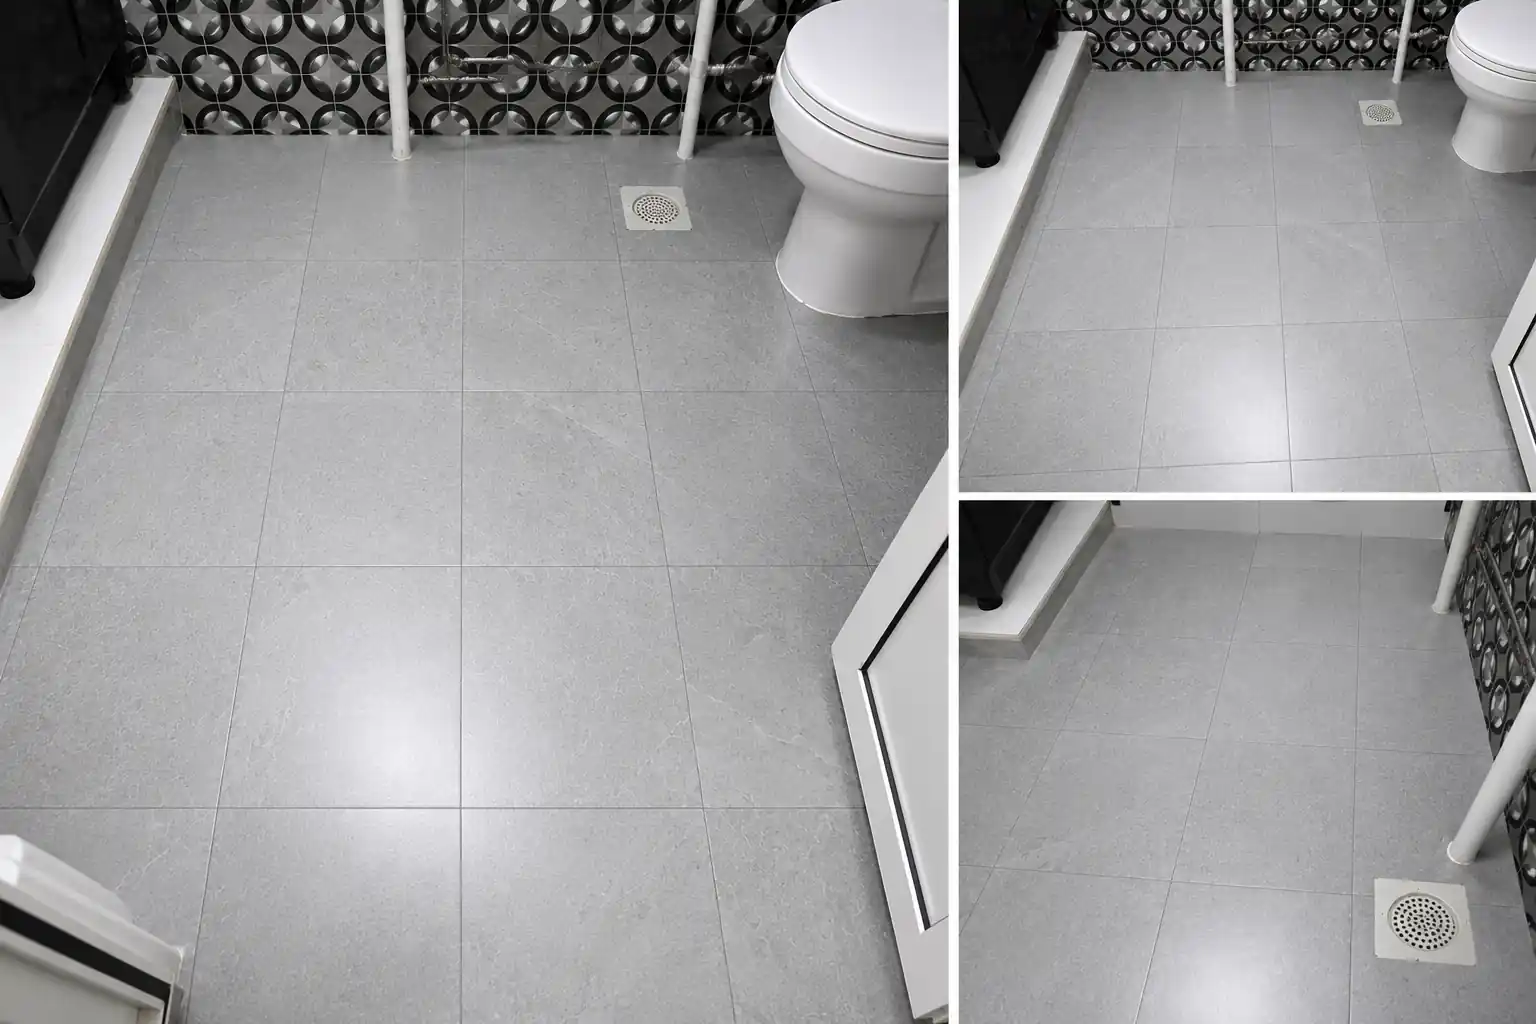
After the marble installation was completed, we carried out marble gum grouting to fill all joints and eliminate small gaps between the marble pieces. High-quality marble gum was carefully colour-matched to complement the marble surface, providing a neat, durable, and aesthetically pleasing finish. Excess material was removed, and the joints were finished smoothly to ensure a seamless appearance across the entire floor.
Once the marble gum had fully cured, we commenced the marble grinding and polishing process using professional-grade polishing machines and diamond abrasive pads. Multiple grinding and polishing stages were carried out to remove minor surface imperfections, level the marble, and restore its natural shine. This process enhanced the marble's smoothness, gloss, and overall appearance while improving its durability and ease of maintenance.
To provide long-term protection, a premium marble sealant was applied after the polishing process. The sealant penetrated the marble surface to reduce water absorption, resist stains, and protect against everyday wear while preserving the marble's natural beauty. A final quality inspection was then conducted to ensure the flooring, skirting, grouting, polishing, and sealing met our strict workmanship standards.
Throughout the project, we utilized premium materials including W1 Cement Strengthener, Davco Floor Screed ECO, White E-Mix Marble Fix, high-quality marble gum, professional diamond polishing abrasives, and premium marble sealant. Professional equipment such as Laser Markers, Electric Mixer with Paddle, Notched Trowels, Rubber Mallets, Leveling Tools, Grinding Machines, Polishing Machines, and Buffing Pads were used to achieve exceptional workmanship and precision.
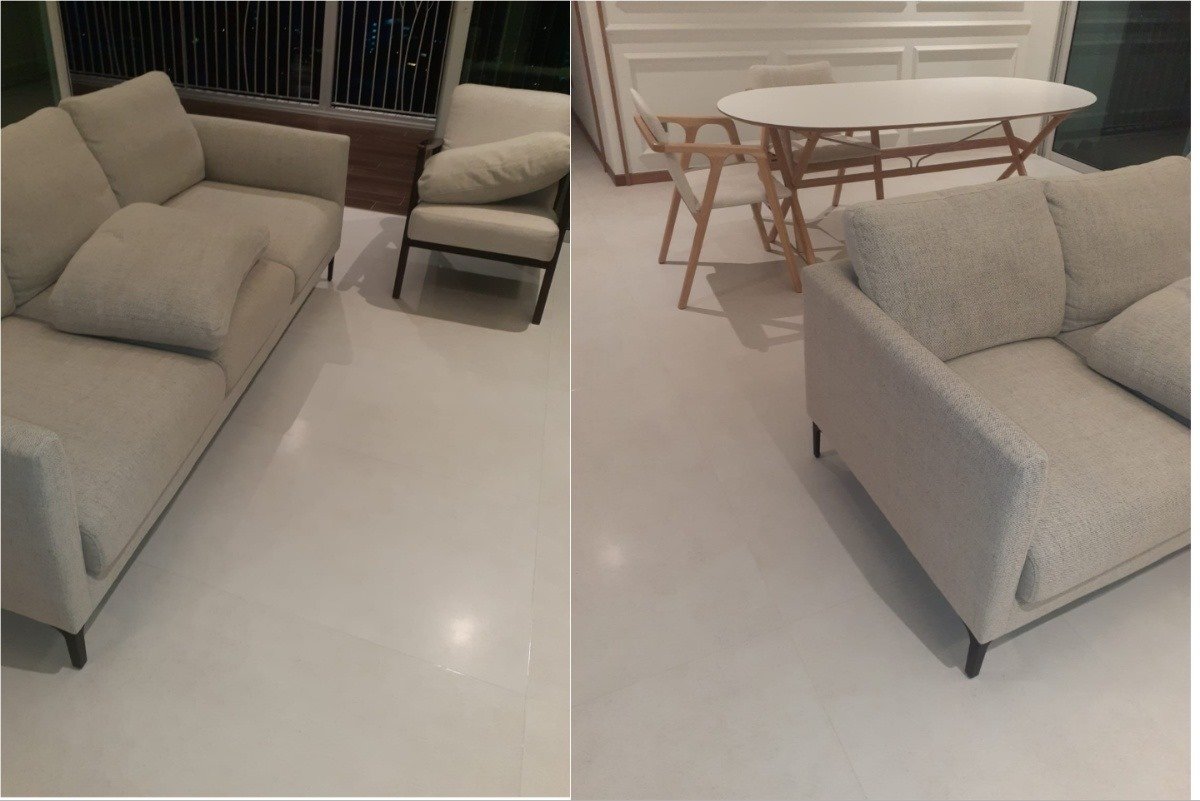
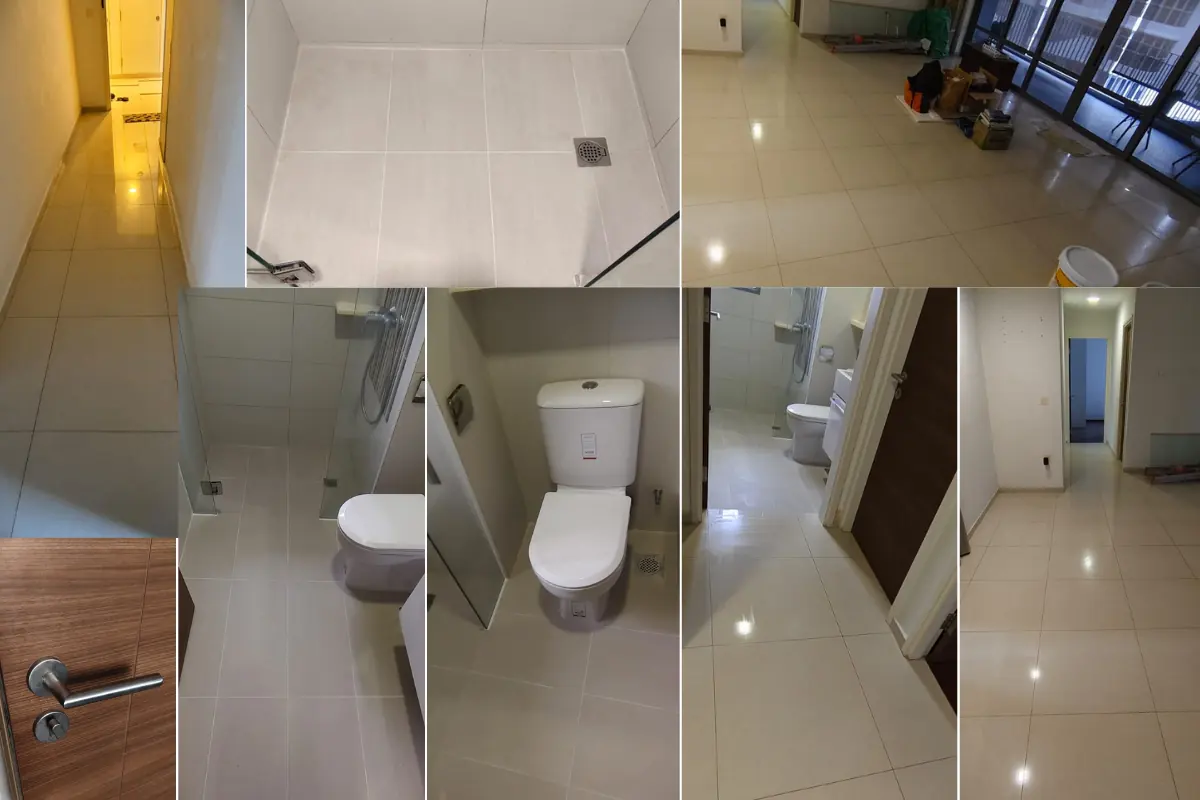
The project was successfully completed, delivering a luxurious marble flooring installation with premium marble gum grouting, professional grinding, polishing, and protective sealing. The completed flooring provides a smooth, elegant, and highly durable finish that enhances the beauty and value of the client's home while ensuring long-lasting performance.
Related Posts








_compressed.png)
.png)
 (1).png)
 (1).png)
-min.png)
 (1).png)
 (1).png)
.png)
.png)
.webp)
.webp)
.webp)
.webp)
.webp)
.webp)

.webp)
.webp)
.webp)
.webp)


